Automotive
Wheel Refurbishment 101: Bring Your Rims Back to Life

If your car has a set of alloy wheels that started out looking sharp and now look like they have been through a few too many kerbs, you have probably wondered whether they are worth fixing or whether you should just replace them. The reassuring answer is that most damaged wheels can be brought back, and refurbishment is usually far cheaper than a new set.
It is also one of those jobs where a little understanding goes a long way. Once you know what the process involves, you can tell the difference between a minor scuff that a home kit can handle and real damage that needs a professional.
What wheel refurbishment actually means
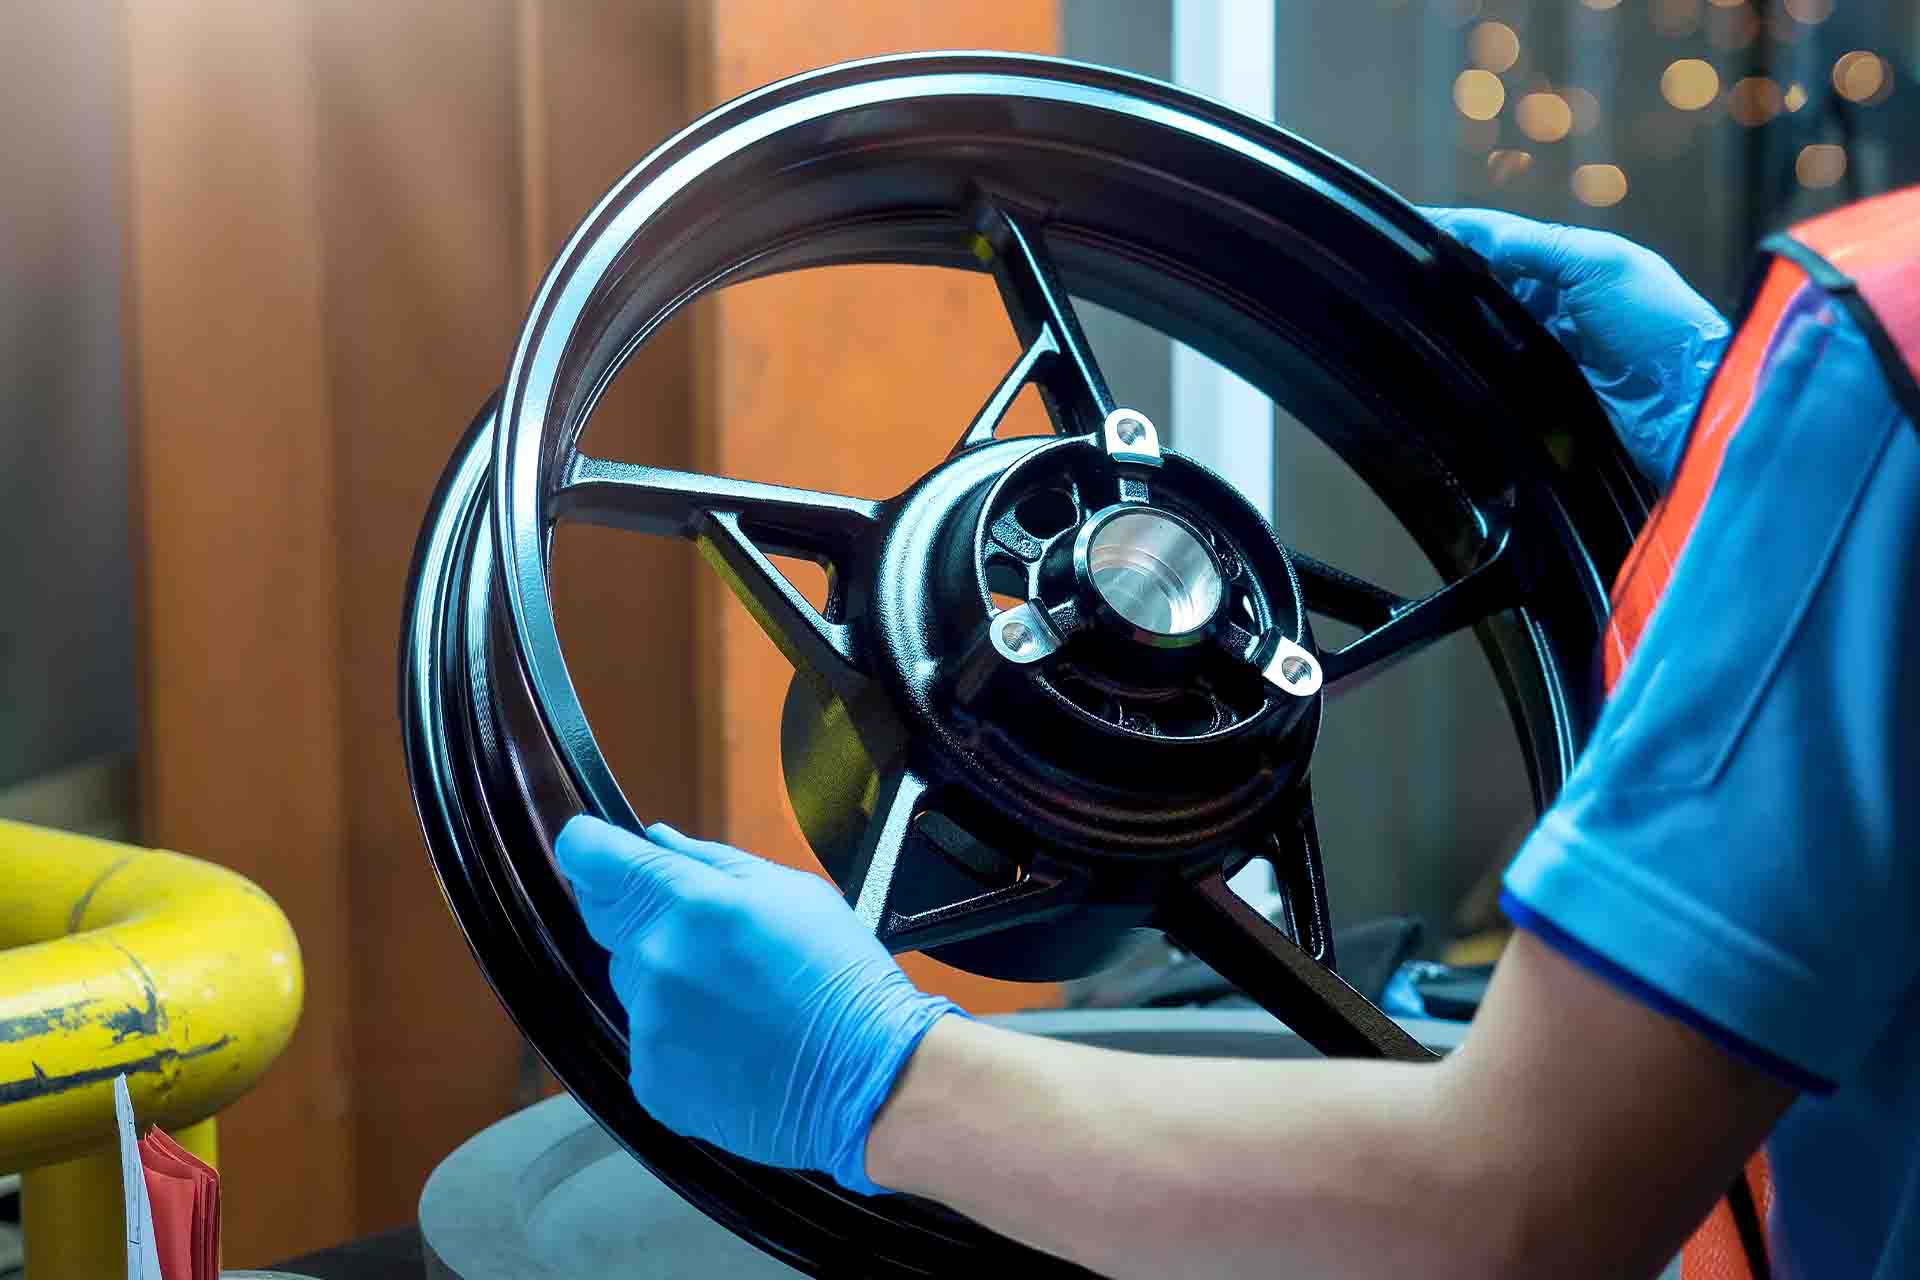
Wheel refurbishment is the process of returning a wheel to a good condition: repairing damage, stripping the old finish, and applying a fresh protective coating. It covers everything from a light tidy-up of kerb rash to a full strip and repaint. The goal is not just to make the wheel look better, though it certainly does that. It also protects the metal underneath.
Alloy wheels are not immune to the weather. Once the protective lacquer is scratched or chipped, moisture and road salt can reach the metal and start corrosion. That is how a small scrape turns into white powdery oxidation under the clear coat, and eventually into a wheel that looks beyond saving. Refurbishment stops that process.
Signs your wheels need attention
A few things are worth acting on sooner rather than later.
Kerb rash is the obvious one, the scuffed and scraped outer edge that happens when a wheel kisses a kerb. It is mostly cosmetic, but it breaks the protective layer and is the most common reason people book a refurbishment.
Corrosion shows up as white or grey patches under the lacquer, often around the edges of the spokes or where the wheel has been kerbed. If you can see it starting, it will spread, so it is best caught early.
Leaks are a more serious sign. If a wheel is losing air slowly and the tyre is fine, the seal between the tyre and the rim may be damaged, sometimes from an old impact. A refurbishment can often sort that out by repairing and resealing the rim.
Cracks and bends are the ones that matter most. A hairline crack in the wheel structure or a visible flat spot from a pothole is not something to ignore, because a wheel that is structurally damaged can fail while you are driving. These need a professional assessment, not a home repair.
How the process works
A full refurbishment follows a fairly standard sequence, whether you do it at home or leave it with a specialist.
First the wheel is inspected and cleaned. Brake dust and old grease need to be off before anything else, because they will ruin a new finish. The tyre is usually removed for a full job so the whole wheel can be worked on.
Next the old finish is stripped. This is often done with a media blaster or chemical stripper to remove the old paint, powder coating and lacquer, down to bare metal. This step is also where the wheel is checked properly for cracks and corrosion that were hidden under the paint.
Then the repairs happen. Minor kerb rash is filled and sanded smooth, and corrosion is ground back to clean metal. Structural issues such as cracks may be welded, though not every wheel can be saved, and a specialist will tell you honestly when a wheel is beyond repair.
After the repairs, the surface is prepared and the wheel is refinished, either with a spray paint and clear coat or with powder coating, which is baked on for a tougher finish. If the wheel has a machined or diamond-cut face, that surface is cut on a lathe to give it the bright metallic look, then lacquered.
The wheel is left to cure properly before the tyre goes back on and the wheel is balanced. That last step matters, because a freshly painted wheel still needs to spin true on the car.
Doing it yourself versus calling a professional
Where the job sits on the DIY-to-professional scale depends mostly on what is wrong with the wheel.
If you have light kerb rash and the wheel is otherwise sound, a home repair is achievable. Alloy wheel repair kits are widely available, and careful cleaning, filling, sanding and painting can make a scuffed wheel look respectable again. The key is patience and preparation. A rushed home paint job will look worse than the kerb rash it was meant to hide.
If there is structural damage, corrosion under the lacquer, or a wheel that needs powder coating or a machined face, that is a job for a professional. Cracks need proper welding and testing, and diamond-cut finishes need specialist lathes that a home garage does not have. There is no shame in drawing that line, because a wheel is part of what keeps the car safe.
How often should you do it
There is no set schedule for wheel refurbishment, because it depends on where you drive and how careful you are with kerbs. A set of wheels that has been kerbed and corroded will need attention sooner than one that has lived a gentle life.
A sensible approach is to deal with damage when it happens rather than letting it build up. A small scuff fixed early is a cheap job. The same scuff left for years, with corrosion creeping under the lacquer, becomes a full refurbishment. If you are planning to sell the car, having the wheels refinished is one of the more visible ways to lift its presentation, and it is far cheaper than replacing the set.
Deal with damage early
Wheel refurbishment fixes kerb rash, stops corrosion and can bring a tired set of alloys back to looking new, usually for a fraction of the cost of replacement. Light scuffs are a reasonable weekend DIY project, while cracks, corrosion and machined finishes are best left to a specialist. Deal with damage early, keep the finish protected, and your wheels will look after you for a long time.
If your wheels need more than a light touch, it is worth speaking to a local wheel refurbishment specialist to get an honest opinion on what can be saved.